We recently had a conversation with a customer where the customer mentioned that he was using PoE to drive his Screenly deployment. Since there are significant benefits with this, we decided to do a quick write-up about PoE and how to use it with Screenly.
One of the benefits of the Raspberry Pi is the low power consumption. Because of this, it’s possible to power the entire Raspberry Pi using PoE, a standard used frequently to power network equipment.
What is PoE and why should I care?
Power over Ethernet, as the name implies, delivers power over Ethernet. In short, this allows you to:
- Simplify wiring by combining both power and ethernet in the same cable
- Remotely power cycle devices through the switch
- Ensure reliable power by simply putting the switch on a UPS
As you can see, PoE provides a number of benefits that can come in handy for a digital signage deployment. (Please note that you’d still need to power the monitor using another power source.)
What do I need to get started?
The first thing you need is either PoE enabled switch or a PoE injector (a device that sits between a non-PoE enabled switch and the device that adds PoE support). If you’re lucky, your switch already supports this, but most switches do not come with PoE.
How do I use PoE with Screenly?

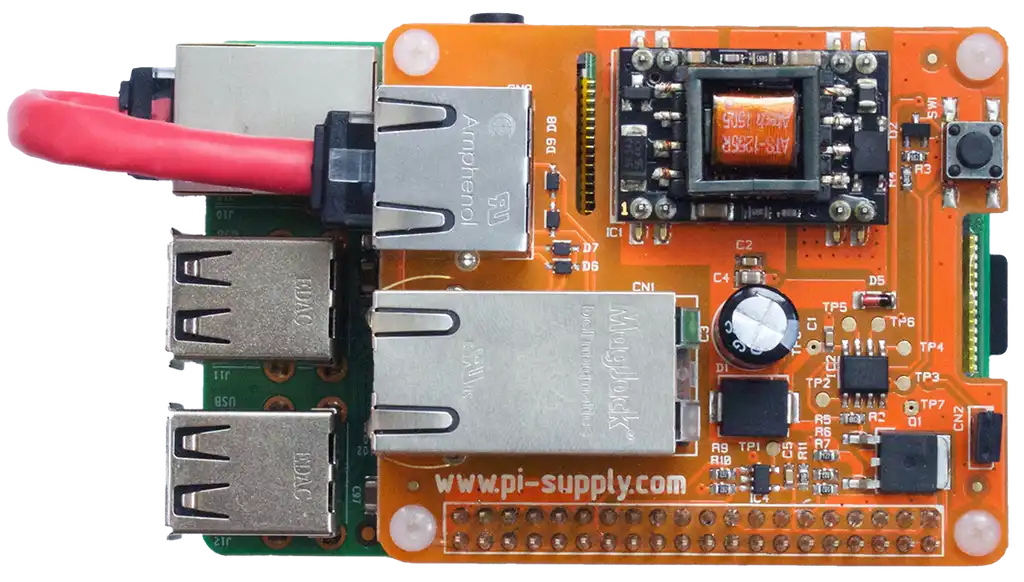
Once you’ve sorted out the power source, you need hardware to drive the Raspberry Pi. You have a two options here. You can either use a PoE enabled HAT, such as the Pi PoE Switch from Pi Supply, or you can use a USB PoE adaptor, such as this one.
Finally, you need to ensure that you are using proper network cabling. Assuming you are using CAT5, CAT6 or CAT7 cables (that are using all cable pairs) you should generally speaking be fine.
What else do I need to configure?
In short, nothing. Screenly will not be able to tell the difference. If you however are using the Pi PoE Switch, it would be recommended that you set the jumper cable on the board such that it will automatically boot without having to press the power button.


