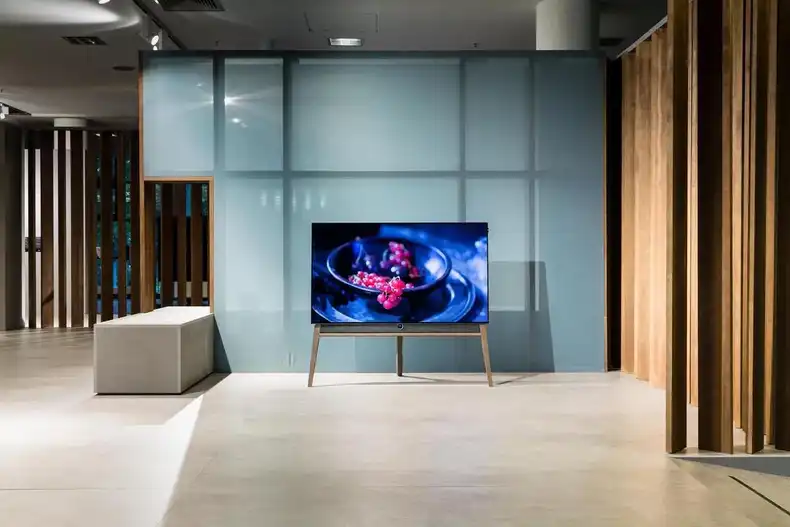
The Raspberry Pi is arguably the best Linux minicomputer on the market, and it is useful for a variety of applications. One of these applications for a Raspberry Pi is using the device to support a Raspberry Pi video wall. A video wall displays - you guessed it - video content for commercial promotion and advertising, personal DIY projects, educational purposes, and more. Below we detail how you and your team can use this device for your video wall needs.
Why is the Raspberry Pi an excellent solution for a video wall?
There are a couple of reasons that the Raspberry Pi computer-on-a-chip is a great device for a video wall. One source of savings is the Raspberry Pi’s low power draw. The device only draws 3 watts of electricity. This number is quite impressive considering the Raspberry Pi can display full 1080p HD content. This low energy draw makes the electricity costs of a Raspberry Pi video wall deployment very low. This low cost can result in thousands of dollars in savings when compared to the electricity costs of other media players.
Another important feature of the Raspberry Pi is the availability of digital signage management software. After setting up your Raspberry Pi video wall displays, you will need to manage your video content. Management tasks include uploading and storing video assets, organizing videos into playlists, and scheduling video content. Fortunately, there are useful open source and professional, paid software solutions to assist with digital sign content management. Professional digital signage software is useful for video wall deployments with multiple screens. The software is helpful as it allows users to change video content directly from their computer. With this software, users do not have to physically access their Raspberry Pi and video wall for each content change.
How can I get started with a Raspberry Pi video wall?
To get started with your Raspberry Pi video wall, you will need both hardware and software. For hardware, we recommend the Raspberry Pi 3 Model B+. While you can use other models, the Model B+ will provide optimal performance for your video display. Next, you will need an official Raspberry Pi power source. This proper power supply will ensure you do not run into several common issues associated with the minicomputer. You will also need an HDMI cable to connect your Raspberry Pi media player to your display. Additionally, you will need a microSD card to store the required video wall software for your Raspberry Pi and your video wall content.
The Screenly Box 0 comes with all needed Raspberry Pi components bundled together. We designed the Screenly Box 0 for customers who are just getting started with their Raspberry Pi video wall deployment. While you can connect to WiFi with most Raspberry Pis, we recommend you connect to the internet via ethernet cable. Connecting via ethernet will help you avoid any wireless connectivity issues. If you do not already have an ethernet cable, be sure to purchase one separately. The Screenly Box 0 does not include an ethernet cable.
For software, you can use free digital signage management software such as Screenly OSE (Open Source Edition). You can also use a paid, professional software solution such as Screenly’s paid version (referred to simply as “Screenly”). As mentioned, Screenly has a variety of useful features that users will not find in Screenly OSE. These features include the ability to manage the content of multiple screens from a central interface. Learn more about the differences between Screenly OSE and Screenly in our article on Screenly OSE vs. Screenly (Paid Version).
I want my video wall to display the same video and fragment it across multiple screens. How do I do that with the Raspberry Pi?
Users may want to make a larger display by splitting the same video across multiple screens. This requirement is more challenging than showing a video on a single screen. However, users can still fulfill this requirement with the Raspberry Pi. To create a 2x2 video wall with 1080p HD resolution, a user will need to purchase a video wall controller. A video wall controller accepts video input from a Raspberry Pi and then splits the video as output to a multiple screens. There are several video wall controllers on the market. While we do not officially endorse any third party product, we have run successful tests with this video wall controller from RIJER. Note that the video wall controller does get a bit hot with continued use.
Going forward with a Raspberry Pi video wall
We hope this article has provided a useful overview of how to deploy a video wall with the Raspberry Pi. Whether your business needs a video wall with a single screen or a video wall that displays a single video that is split across multiple screens, the Raspberry Pi can handle your needs. If you have any questions on how Screenly can be used in your deployment, reach out to Screenly support.
Get started
Ready to give Screenly a shot? Sign up for Screenly.


